Mikrotik Layer 7 Firewall Setup
Monday, October 3, 2011
0
comments
Mikrotik Layer 7 Firewall Setup - Layer 7 is the application layer of the OSi system model and allows the Mikrotik router to analyze each and every packet that enters your network, and decide what to do with it.
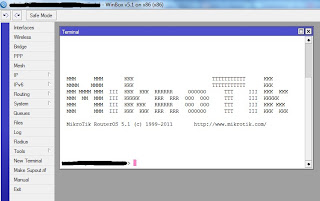 The first step is to get a script file with the list of the most common Layer 7 protocols. This can be obtained from the Mikrotik Wiki via the following link :
http://www.mikrotik.com/download/l7-protos.rsc
We can now copy this script file into the Mikrotik 'Files' list.
Once you have the script file copied into the 'Files' window we can now proceed to import it via the terminal.
To make sure the script file imported properly, head to the 'IP' -> 'Firewall' menu and go to the 'Layer 7 Protocol' tab. You should now have a list ofthe most common types of traffic found within a network.
We can now create a firewall rule to block any type of Layer 7 traffic we choose. Go to the 'Filter' tab and add a new Firewall rule. Leave the chain set to 'forward'.
In the ' Advanced' tab you may now choose the Layer 7 traffic type you would like to block/allow.
Once the Layer 7 traffic type has been selected, proceed to the 'Action' tab and define the action of your choice. Drop is the most common action to stop a certain type off traffic flowing through your network.
 The first step is to get a script file with the list of the most common Layer 7 protocols. This can be obtained from the Mikrotik Wiki via the following link :
http://www.mikrotik.com/download/l7-protos.rsc
We can now copy this script file into the Mikrotik 'Files' list.
Once you have the script file copied into the 'Files' window we can now proceed to import it via the terminal.
To make sure the script file imported properly, head to the 'IP' -> 'Firewall' menu and go to the 'Layer 7 Protocol' tab. You should now have a list ofthe most common types of traffic found within a network.
We can now create a firewall rule to block any type of Layer 7 traffic we choose. Go to the 'Filter' tab and add a new Firewall rule. Leave the chain set to 'forward'.
In the ' Advanced' tab you may now choose the Layer 7 traffic type you would like to block/allow.
Once the Layer 7 traffic type has been selected, proceed to the 'Action' tab and define the action of your choice. Drop is the most common action to stop a certain type off traffic flowing through your network.


